Converting Analogue Images to Digital Files: Part 3 – Workflow
In the first two parts of this series, Chris gave a comprehensive overview of the two main options for digitising your film, i.e. a scanner or using a digital camera. In this, the third and final piece in the series, Chris considers the overall workflow.
Missed parts 1 & 2? Don’t stress; you can find part 1 HERE and parts 2 HERE.
Once you have made your choice of hardware, it’s time to get down to the business of taking your precious pieces of film from the material world into the digital realm. For this, you are also going to need a computer and some software, as well as desk space for your choice of digitising device.
One of the big advantages of using a film scanner [as opposed to a flatbed scanner] is they take up very little desk real estate and can be left in situ ready for whenever the need arises. The downside of the scanner is that it can take quite some time to make a scan. However, if all shots are evenly exposed and the scanner has batch scanning as an option, once one frame is ready to go there isn’t much more to do than leave it to do its thing.
The resolution, whether or not ICE or another type of IR cleaning is employed, and the number of scan passes chosen, will determine how long each frame will take to scan. Regardless, the actual capture process will always be a lot slower than a digital camera.
Capture speed is definitely a camera’s big plus point. Whether you are using a copy stand or a tripod, they are going to take up a lot of room on your desk, and they are going to need to be set up each session unless you have the luxury of leaving a digital camera attached to it. If you’ve ever used a gimbal for shooting video, that will give you some idea of the amount of fiddling needed before starting a shoot.
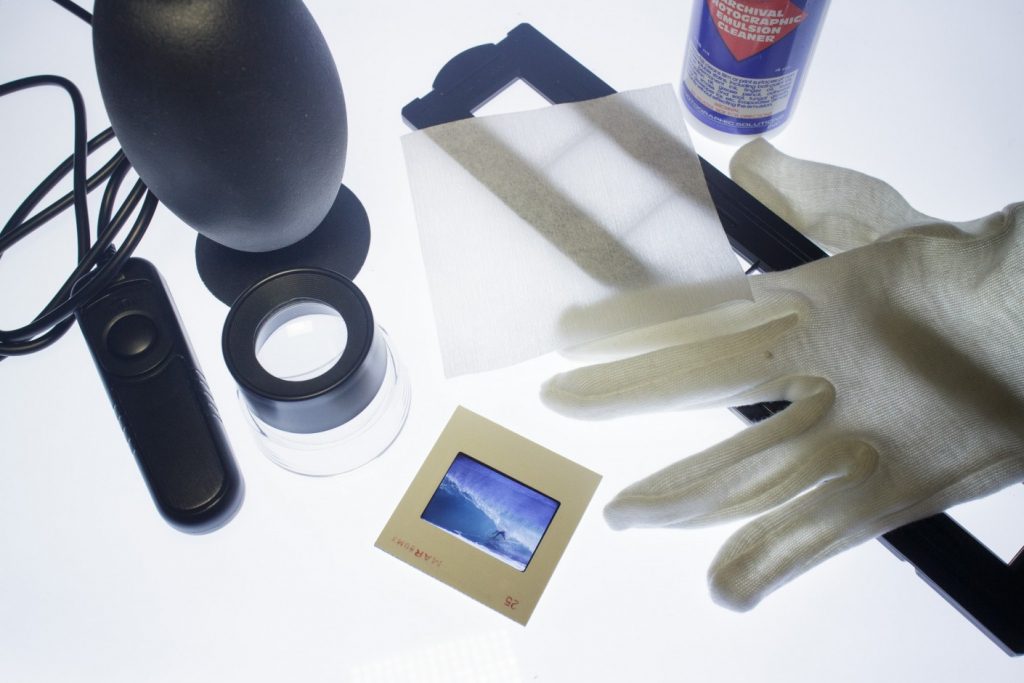
Once you have your workspace sorted, you want to make sure it is as dust-free as possible. Dust is the enemy of film scanning. As with anything detrimental, prevention is better than cure. Even with all the digital tools available, keeping the dust off the film in the first place will save a lot of time and work. Just ask anyone who has made a darkroom print and has had to spend time ‘spotting’ the print with retouching ink and a fine paintbrush. To remove dust, you just need a blower, like the Rocket ones, or some compressed air. An actual compressor is preferable to cans of compressed air because apart from the cost, wastage and other environmental concerns, you risk getting drops of propellant on your film. Desktop airbrush compressors can be picked up for as little as £30.
The best thing to do when blowing dust off your films is to turn the film upside down and blow the air upwards, to stop the dust from landing back on the film. Alternatively, hold the film sideways and blow from the top down. If your films have been in storage for a while they may need to be cleaned. Film cleaning solutions, such as Hydra Zebra Clean or PEC-12, and cleaning tissues like PEC PAD, will safely remove any residue and help keep the film antistatic, to repel dust. And speaking of prevention, a pair of white cotton gloves to keep finger marks off the film’s surface are advisable. Holding the edge of the film is always a good idea, but it’s not always possible when putting the film in holders. For as little as £8 you can get a box of 15 pairs, which you can also use as a washable, more comfortable alternative to rubber gloves for when you’re out and about during these Covid times.
Because of all the different combinations and permutations of capturing methods, I’ll not go into too many detailed specifics. I have already covered the options briefly in the previous two articles. Whatever method you choose, make sure you know your equipment, its strengths and weaknesses. And capture in RAW. For digital cameras that are pretty straightforward. With scanners, both VueScan and Silverfast can scan to DNG format. Capturing in RAW will give you some extra leeway when it comes to editing and colour correcting your scans, but the quality of your originals will always be the deciding factor.
Regardless of format [135, 120, etc.], the most common photography films are either colour transparency/slide, colour negative or black and white negative. For this article, I took one example of each from my 35mm archives and made scans using my current setups. The film scanner is Nikon Super Coolscan 4000 ED paired with VueScan software. For the camera scans, I used a Canon EOS 6D [20mp] with a Sigma EX 50mm f/2.8 Macro lens mounted on the underside of a tripod with an L-bracket. An A3 LED light table was the light source and Plustek scanner film holders were used to keep the films flat. The camera was used in Live View, with a remote control to fire the shutter. All images were saved to the internal SD card.
I have not tried any form of remote or tethered capture, yet. With the processing, I did not try to make the different final images look the same but made a version that appealed to me in a purely subjective way, based on the original files, as I am in no way an expert colourist.
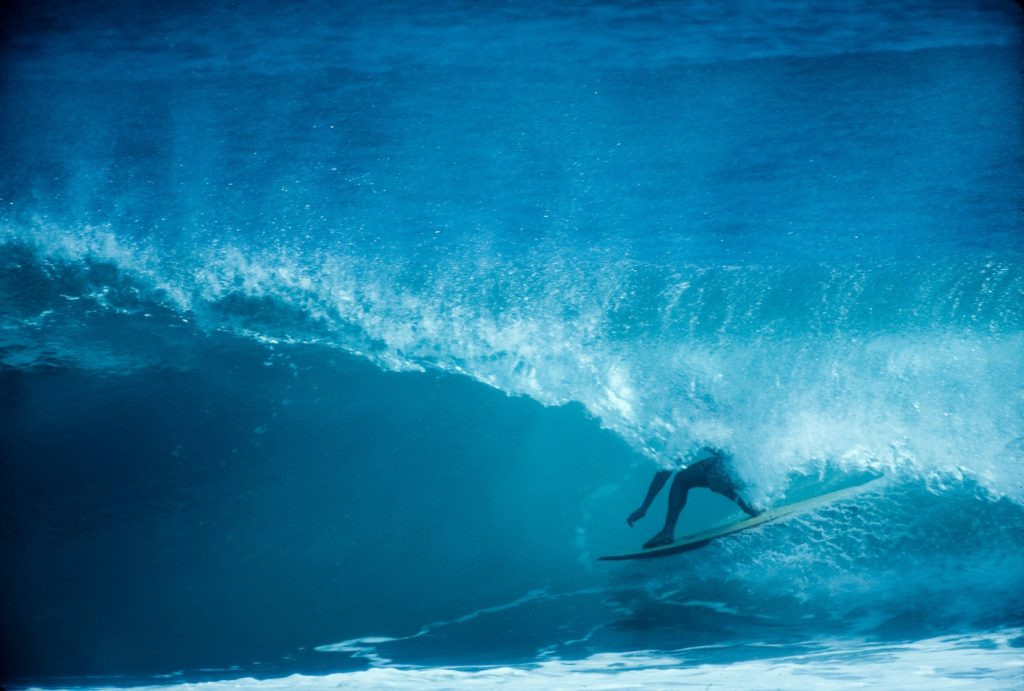
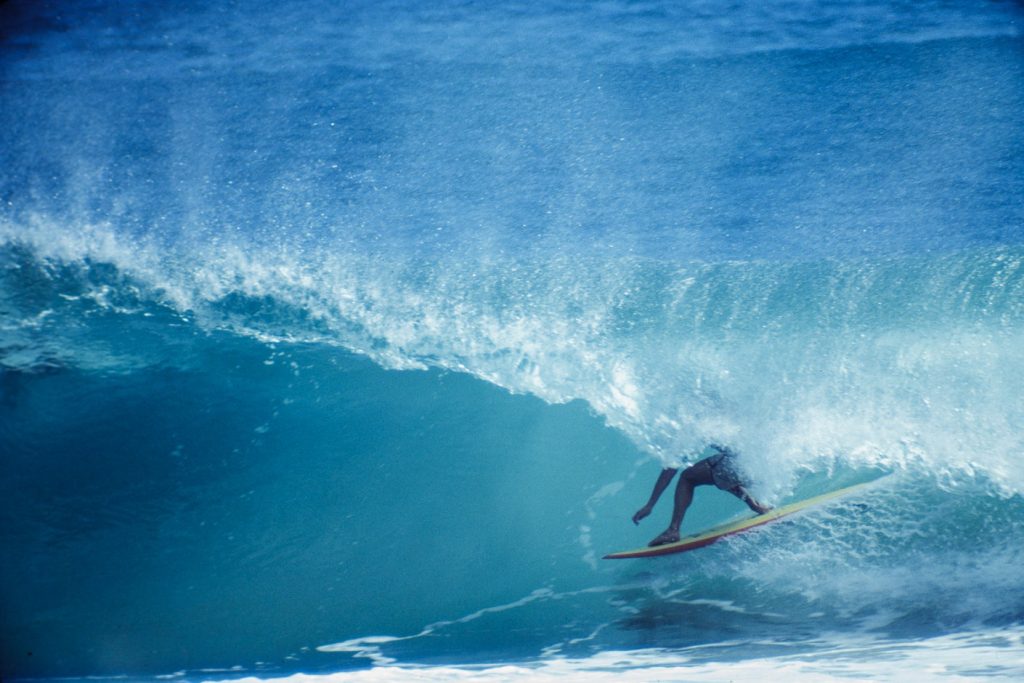
Although not as popular today, primarily due to it not being required for publishing, a lack of emulsion choices, cost and very narrow exposure latitude, transparency film is the one I am most familiar with for digitising as it makes up the bulk of my colour film archive. It is the most straightforward to scan, whether mounted or in strips. The example below was shot on Kodachrome 64. To my eyes, the 6D version is sharper with better colour rendering and needed minimal correction in ACR. It was also a lot faster to produce. For slides, the digital camera seems to be the way forward.
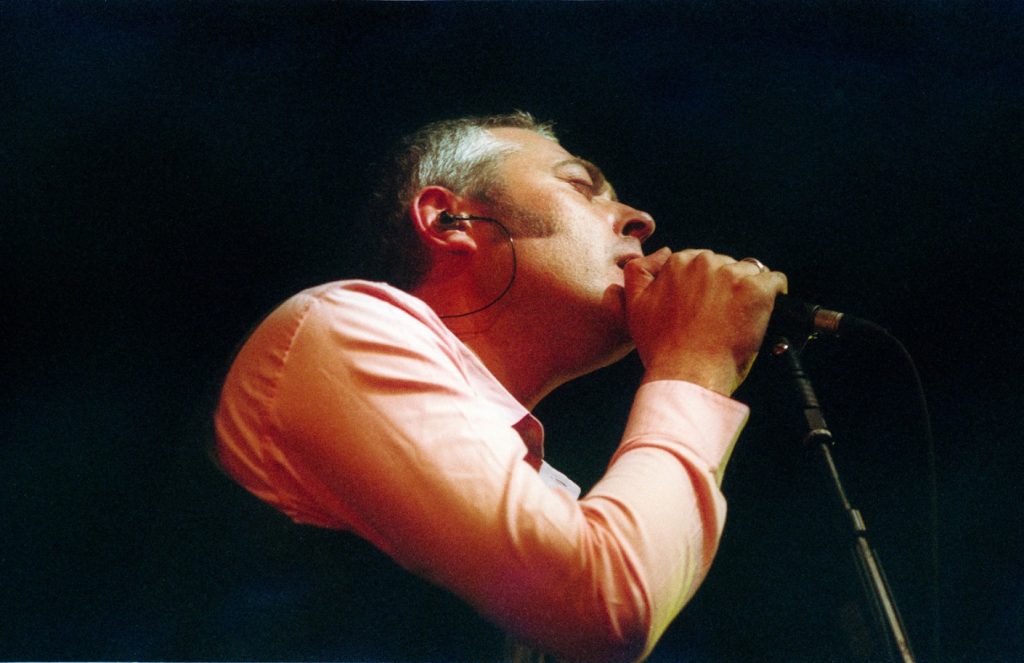
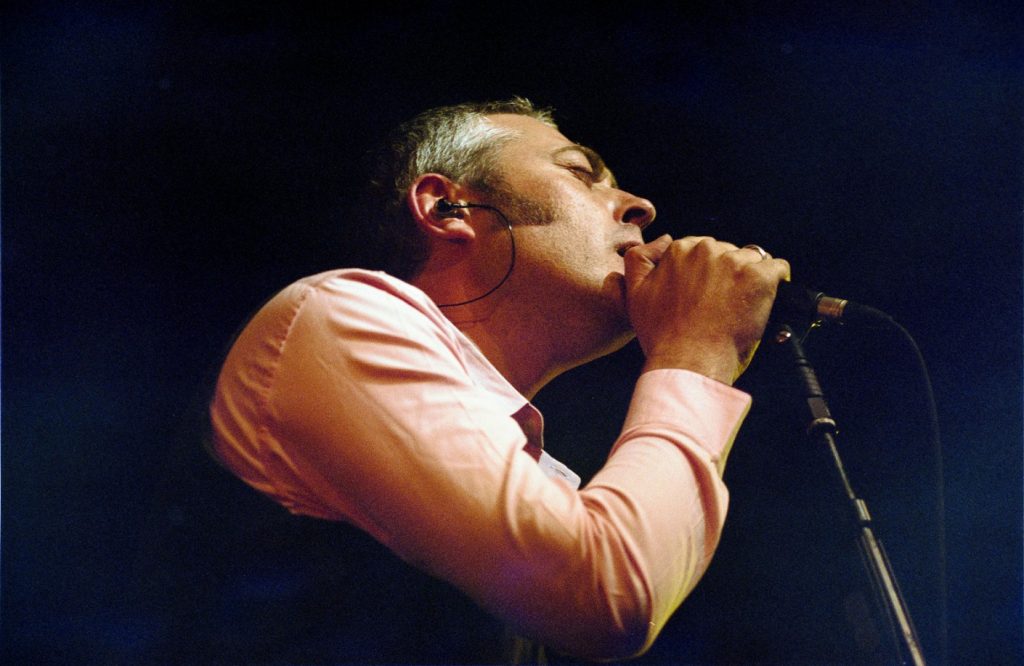
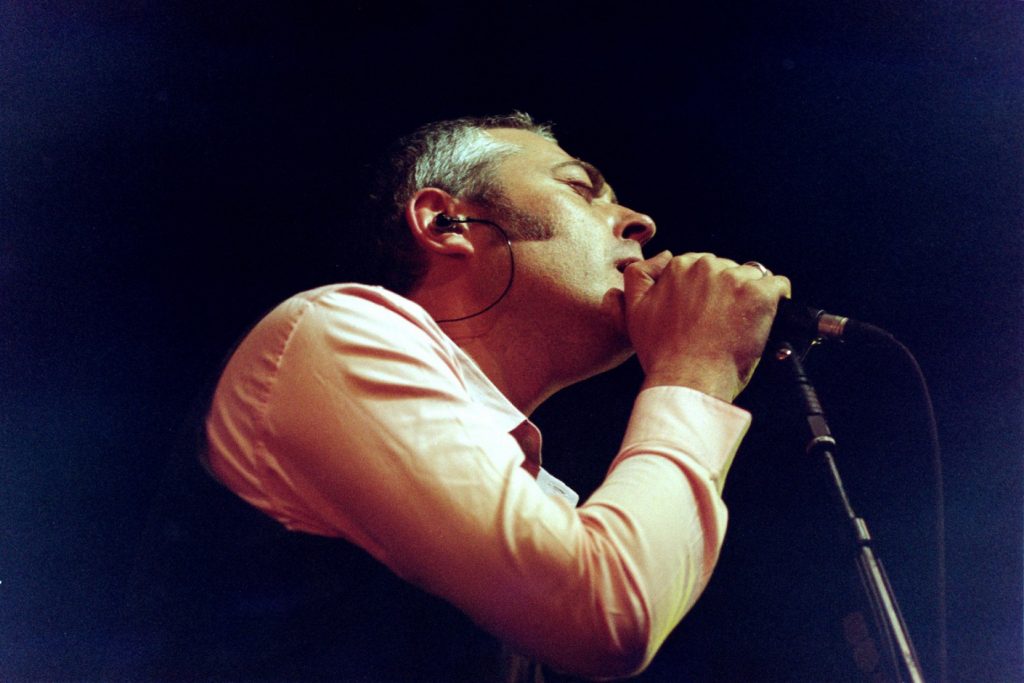
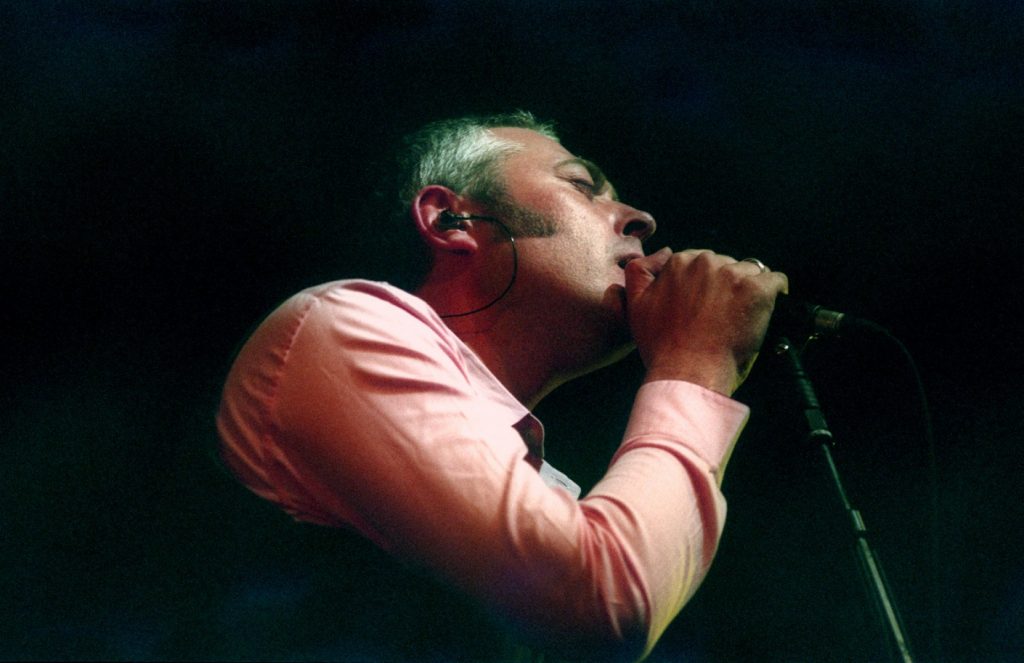
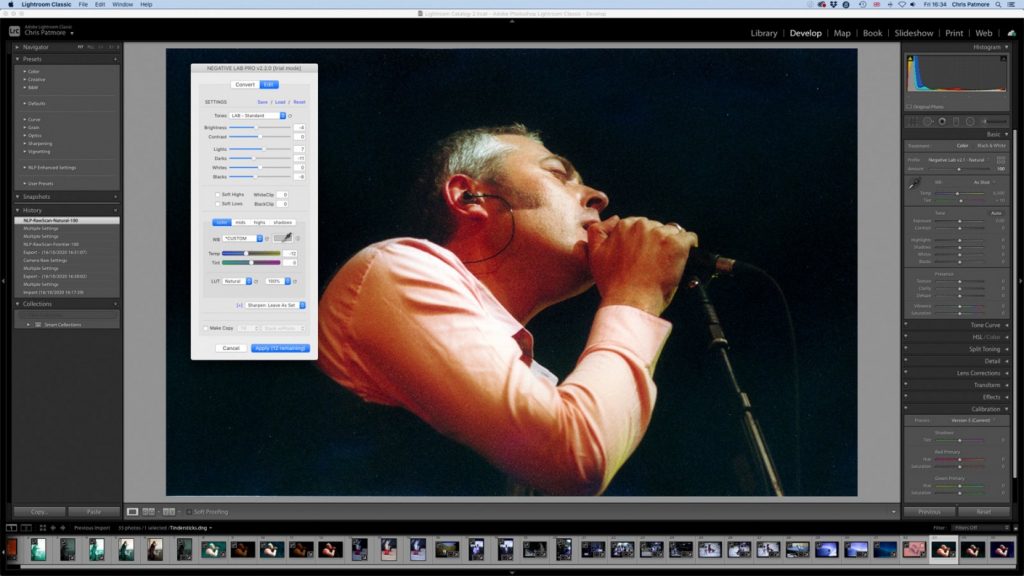
For the colour negative, I picked an old live music photo of Tindersticks at Latitude Festival in 2008. As the lighting at concerts/gigs is always less than ideal it seemed like a good test for colour. It was shot on Fujifilm 400. I made two files with the Coolscan: one was a TIFF with some colour and exposure corrections, and the neg-pos conversion done in VueScan. The other was a RAW DNG file. That second file was corrected and converted in Lightroom using the Negative Lab Pro https://www.negativelabpro.com/ plugin.
I’m not usually a Lightroom user, preferring ACR in Photoshop, but NLP only works in LR, which can be seen as its only possible downside. Once installed, it is very easy to use and the results were impressive from the get-go. It even has built-in settings for VueScan and Silverfast DNG files. The file needed minimal colour adjustments after the initial conversion. I’d heard lots of good things about NLP and I have to say that I was extremely impressed with its simplicity and results. The same with importing the 6D’s CR2 file into NLP, it produced equally impressive results, with the camera file having slightly more detail than the scan.
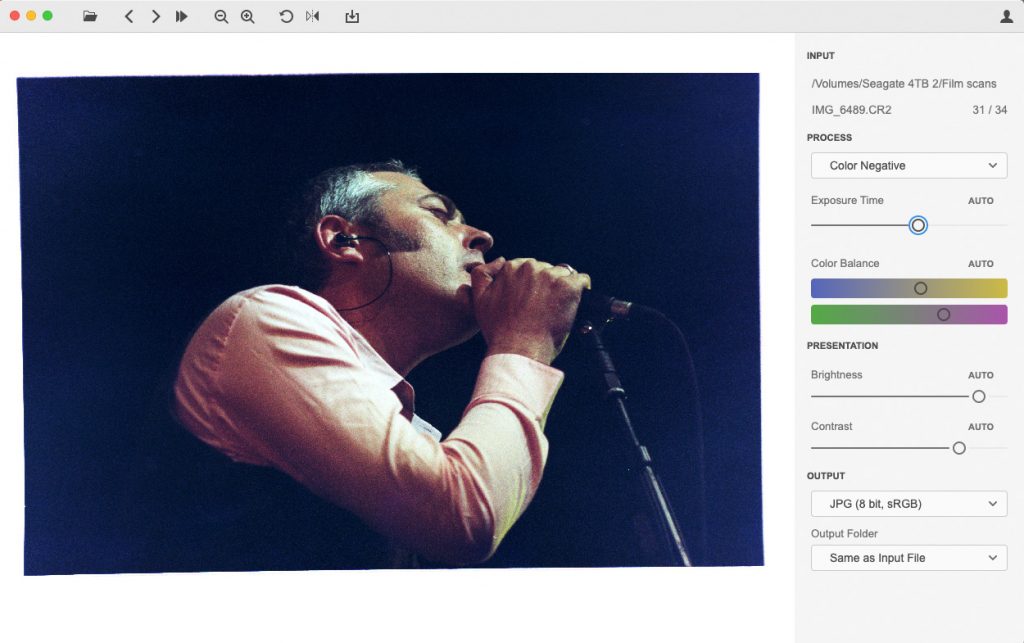
The final image is from the 6D using a standalone app called FilmLab https://www.filmlabapp.com/. However, it wouldn’t recognise the VueScan DNG file, so I couldn’t test that. The program is very easy to use, and being a separate app is a great advantage if you aren’t invested in the Adobe system, but I wasn’t that pleased with the results, primarily because of its lack of editing options. It may fare better with photos taken under more standard lighting conditions but for its high $50 annual subscription or $200 lifetime price, I expected a lot more from this one-trick pony, especially when compared with Negative Lab Pro’s $99 two-machine licence.
For experimentation sake, I did make a JPG of the neg with my camera and tried converting it with adjustment layers in Photoshop, but the amount of faffing about for a less than satisfactory result just doesn’t seem worth the effort. Again, it may be a viable way of getting a decent positive image with a well-lit photo, but that’s not what I usually shoot.
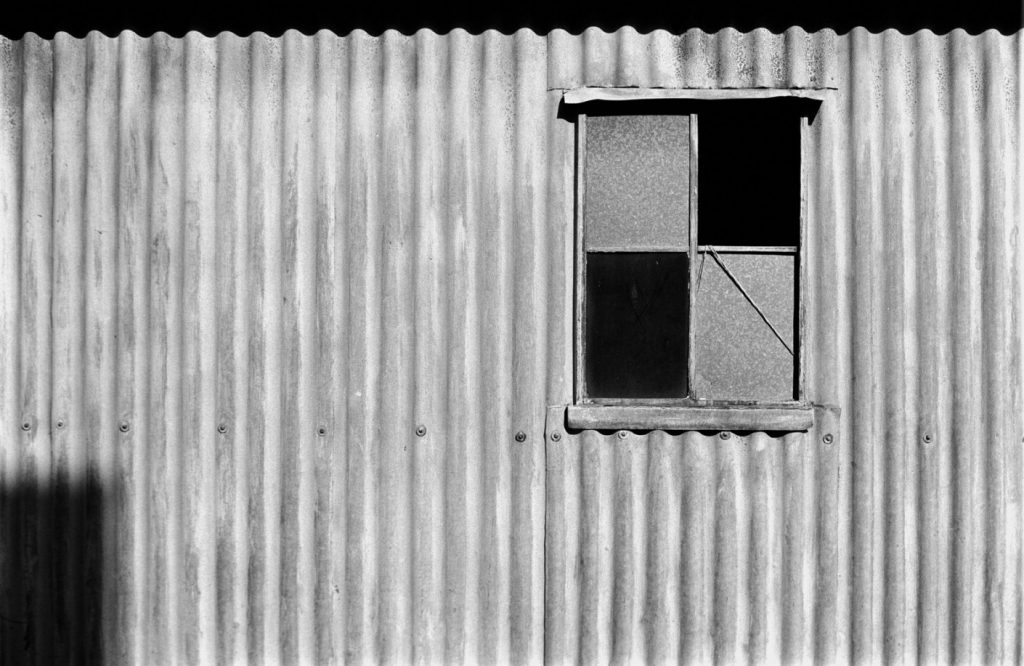
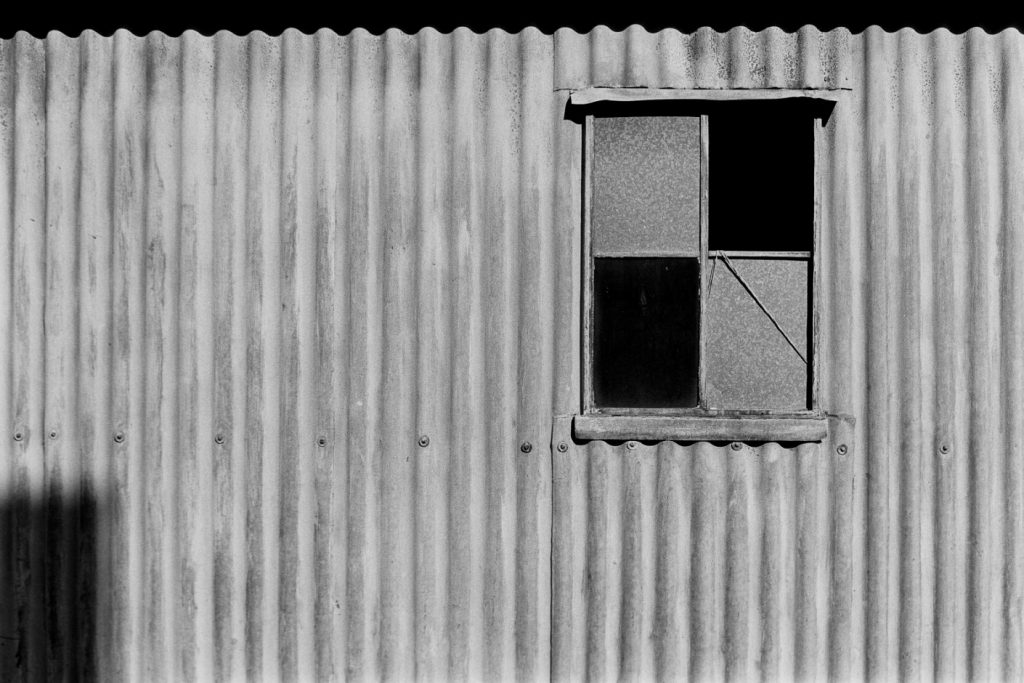
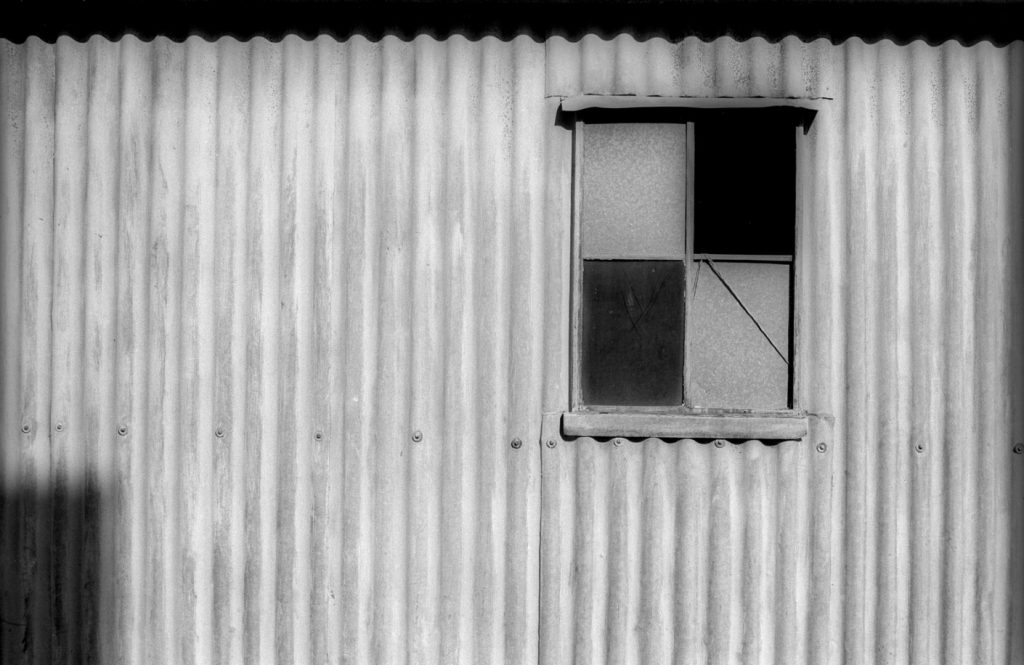
Finally, black and white, which is the film I primarily shoot now. For this one, I picked something a bit abstract with a good tonal range. It was shot on Ilford FP4, so with a nice fine grain. The Coolscan version was converted to positive in VueScan, saved as a DNG and processed with ACR. The CR2 version was processed and converted with Negative Lab Pro in Lightroom. The other version was inverted in Photoshop and simply had the curves adjusted. All were saved as RGB files for displaying online. For printing black and white, I convert the file to CMYK as it gives richer blacks and a fuller tonal range. Again, to my eyes the 6D scans win in the sharpness stakes, and using NLP was a pleasure, although it is not too difficult getting similar results with the camera in Photoshop.
So what’re my conclusions? Initially, I wasn’t convinced about using a digital camera as it took me a long time to find a system and method that worked without going to great expense, preferring to use the Coolscan, but this latest batch of comparative tests has convinced me otherwise, especially for colour negative film when used in conjunction with Negative Lab Pro. And the slides looked better too, and are easier to copy. I would say that 20 megapixels is plenty large enough for 35mm film; the Coolscan images are 20MP as well. Any bigger than that and it is advisable to get a professional drum scan, and/or use at least 645 film.
However, inkjet printing is quite forgiving if you want to go larger than A3. Magazines rarely go larger than A3, even on a double-page spread.
We hope you’ve found this three-part series helpful in bringing your film into the digital realm. It’s by no means an exhaustive guide, but it should point you in the right direction.
You can find more from long-serving contributor, Chris Patmore here on PhotoBite – just use the search function, which will throw up all of his historic pieces. You can also check out his website, where you’ll find links to follow him via his social channels.

