Converting Analogue Images to Digital Files: Part 2 – Digital Cameras
In part 2 of this three-part article, Chris looks at using digital cameras, [and pros/cons therein] as a method of transferring analogue/film images into a digital format. Want to catch up with Part 1 first? Fine… it’s HERE.
In the first part of this series, I looked at digitising film shots with what might be regarded as a more traditional route of using a scanner. For this, part two of the three-part series, I’m delving into the increasingly popular method of using a digital camera and the various options within for capturing film frames. Read on for more.
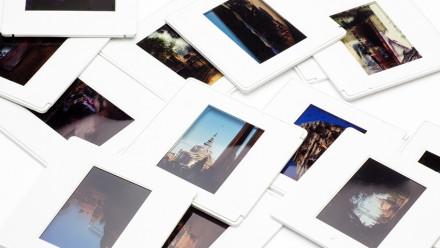
Back in the film-only days, photographers would routinely have their transparencies [slides] duplicated. This was primarily for when they were sent to publications or repro houses, to avoid the chance of the original getting lost or damaged. There were even specific duplicating films dedicated to the task. Colour negative film was never considered for anything that had to be published, and black and white was always taken from darkroom prints and never the negatives, so once published the negatives/slides were carefully filed away.
The task of duplicating the slides was usually handled by a lab using a dedicated machine such as the Bowens Illumitran Slide Copier. However, simpler slide duplicators were readily available for DIY photographers. These were basically an adjustable tube with a slide mount on the end of it with a glass or plastic light diffuser. They were screwed onto the front of either a macro lens or a standard lens with extension tubes or bellows, which were attached to the camera. This rig was then [ideally] mounted on a tripod and aimed at a light source.

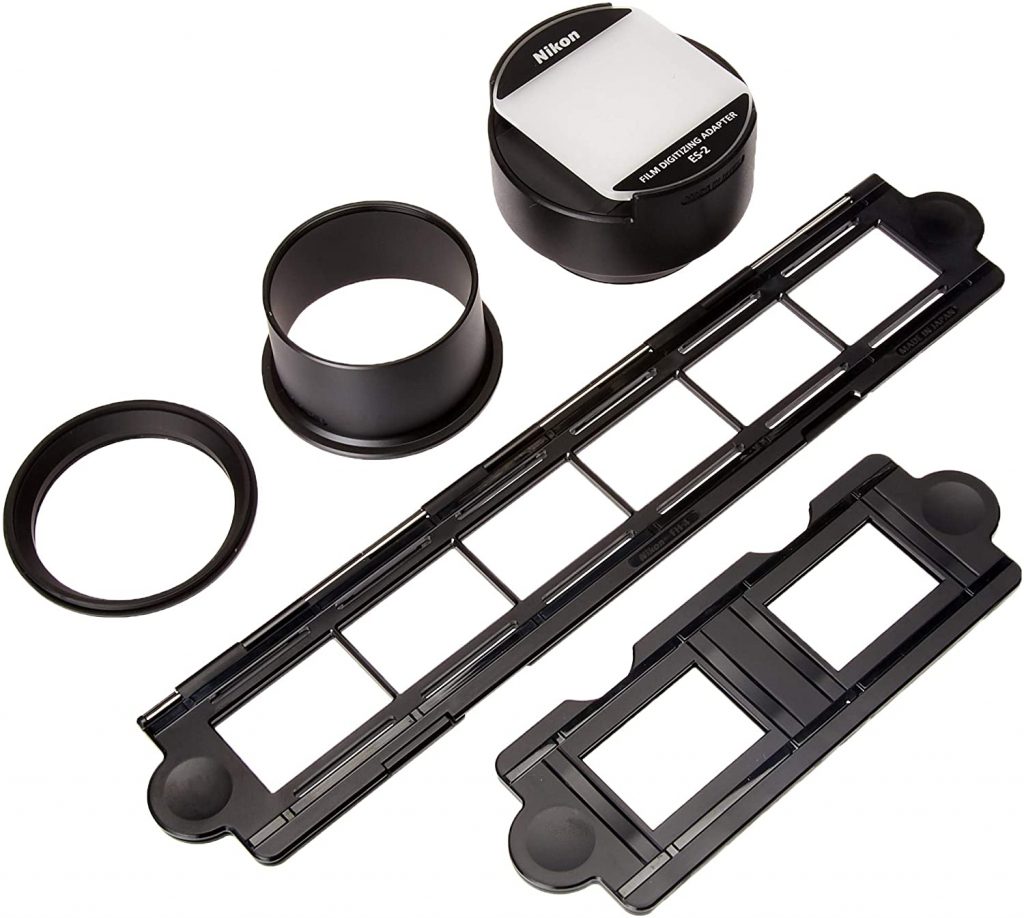
Some of the fancier duplicators included lenses and attached directly to the camera’s lens mount. The major SLR manufacturers made ones specifically for their systems cameras. Nikon still makes one for their digital cameras/lenses, which I’ve read has since been adapted for use with other lenses and cameras.
When I got my first DSLR, it occurred to me that an easy way to digitise my old slides would be to use such a setup. I got a basic slide duplicator and some bellows from eBay and gave it a try. It worked, after a fashion, but not as well as I had hoped or wanted. I even made a simple device of my own from an old chocolate box, a 50mm lens and extension tubes, which also failed to deliver an effective solution. In the end, I realised that there wasn’t really going to be a cheap option and if I wanted to get anything close to decent results I’d have to spend a bit more money, starting with a macro lens.
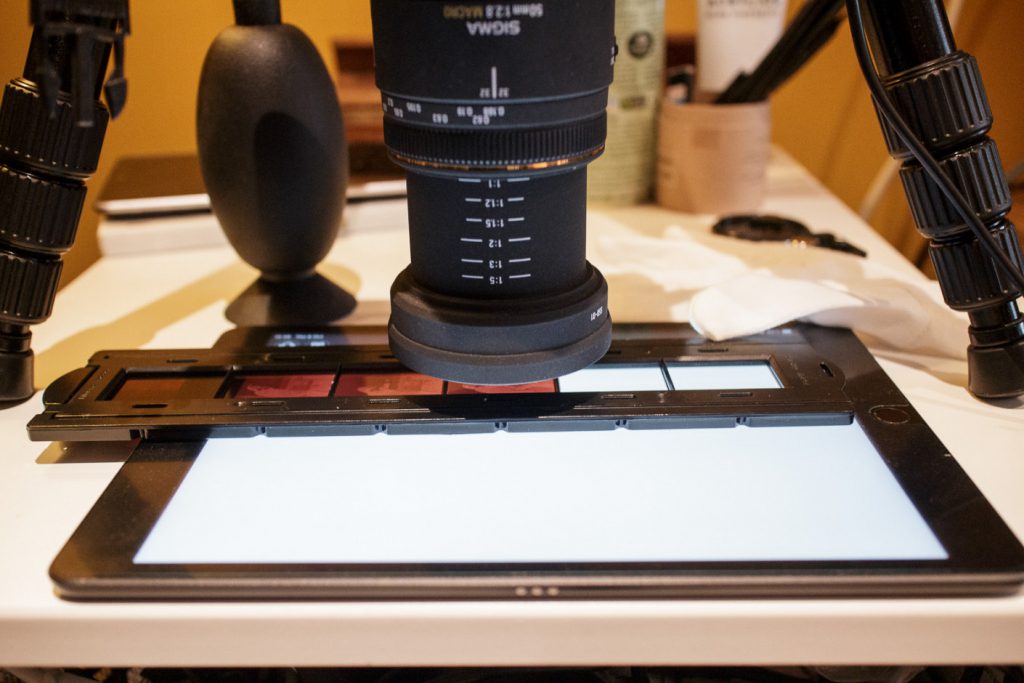
Once you have your camera and a macro lens there are three other vital pieces of equipment. Something to mount the camera on to hold it steady, something to hold the film flat and a light source.
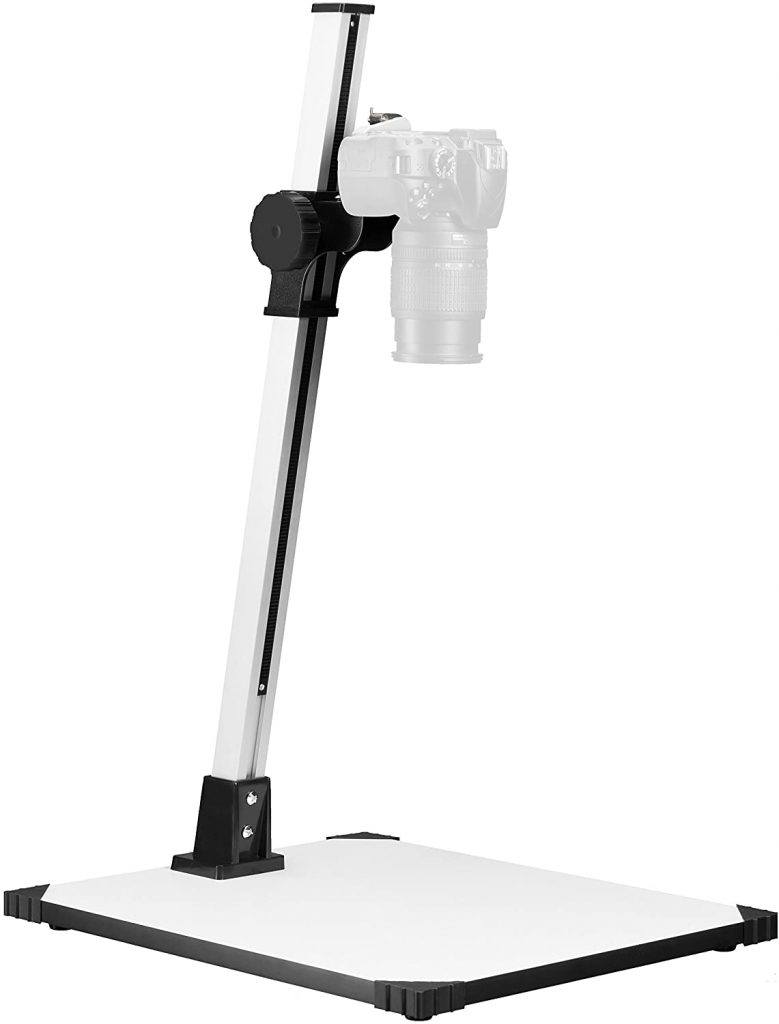
The mount can be a tripod, provided you can reverse the column and/or head to get it as close to the film as possible, whilst ensuring it is perfectly parallel to the film. Ideally, you want a copy stand, which will ensure that the base and camera are parallel. These begin in price at around £35 for a basic lightweight model that will hold a camera and lens up to 800gms, and go up to £100 and beyond for sturdier models.
One with a geared column will make small adjustments a lot easier and is a lot more stable. For the light source, an A4 LED lightbox will do the trick. These start from £10 on Amazon. Some of the cheapest ones that are used for tracing don’t come with a diffuser layer, thereby making each of the LEDs visible, which you don’t want. However, a lot of latest dedicated film holders come with a light diffuser, so it’s not such an issue when using those. You can also use your iPad or tablet if you have one.
There are free apps, such as MyLight, for making the screen white, or you can simply make a blank white image, and fill the screen with it, make sure you turn off the sleep function while in use. If you are using the Nikon film duplicator [or any other one], you can even use a flash, preferably with a diffuser. You want to make sure the light source you’ve chosen doesn’t get too hot, especially with mounted slides as it may cause them to ‘pop’ and throw them out of focus, something that would happen with slide projectors back in the day.
The ideal light source would be a daylight-balanced one with a high CRI rating to ensure colour accuracy, such as a photography/video LED light panel. However, these are much thicker, and more expensive, than an LED lightbox and, depending on the design, keeping them flat and parallel so you can place the film mount on top of it could create some logistical issues.
For mounting the film there are several options. The important thing is that the film is kept flat. Two of the most popular solutions available on the market are Pixl-latr and Essential Film Holder, which are both affordable plastic devices made in the UK. If you are going to be converting a lot of film with a camera, and have a LOT of spare money to part with, a third option is from Negative Supply in the US. Theirs is a metal, industrial-strength system that can be bought complete with copy stand, film mount and light for $1549 [plus shipping], or you can buy the different elements separately. If you factor in the cost of a full-frame digital camera and the macro lens, for my money you might as well buy a quality dedicated film scanner.
One of the main reasons to use a digital camera is to utilise something you already have as a quick and economic solution to getting decent, high-resolution digital versions of your negatives and slides. With those criteria in mind, the Pixl-latr at £40 is a great place to start. It’s a simple, modular system that can accommodate 35mm, 120 and 4×5 films. There’s also an optional holder for mounted 35mm slides. The Pixl-latr works best with uncut film, I wouldn’t recommend strips shorter than six 35mm frames.
Next up the scale is the Essential Film Holder, which comes in three options. There are 35mm and 120 units at £73 each, or one that includes masks for both formats for £90. You can also request special orders of frames that show the full width of the films, which is useful if you use a Lomography Sprocket Rocket. I’ve not tried the EFH, but it does seem to be well designed and made.
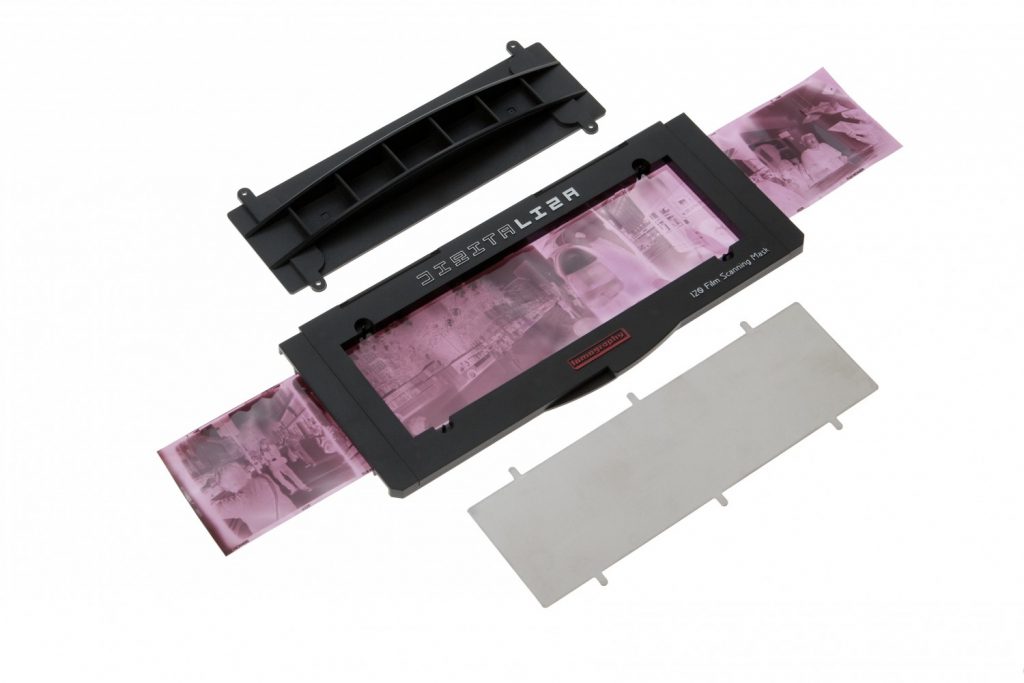
And speaking of Lomography, the long-time file advocates have been offering their own film holders/scanning masks called the Digitaliza, for 120 and 35mm. These are designed to work with most flatbed scanners that can scan film, and are much sturdier than the ones usually supplied with the scanners. The Digitaliza can also be used with digital cameras.
Another budget-conscious solution, are the film holders for Plustek film scanners, which you can buy from Amazon for £35, you get two; one for 35mm film strips up to six frames, and one for holding four mounted slides. If you set up a steady guide rail you should be able to scan multiple images quite quickly. Of course, if you have a Plustek or DiMage scanner you have the holders already, so you can also use your digital camera if you want.
I’ll not say any more about the Negative Supply unit. As well made as it is, it seems prohibitively expensive, especially when you add on shipping from the US. You would have to be digitising a lot of film to justify that sort of outlay, especially with so many other more economical solutions available.
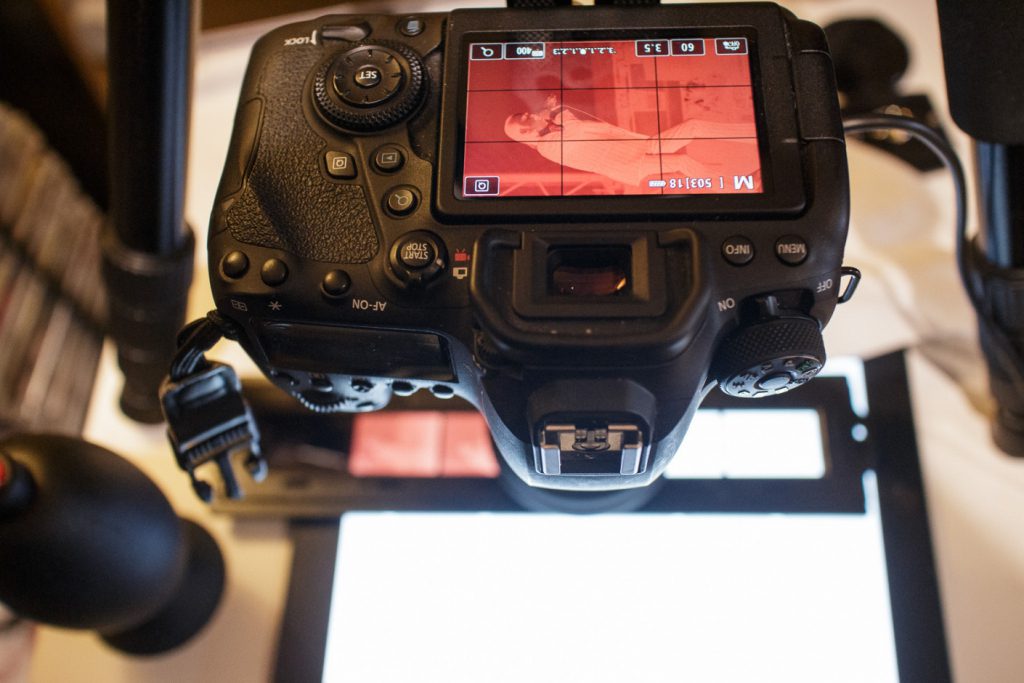
Ideally, you should use a full-frame sensor camera with a true macro lens so it’s a 1:1 copy, but APS-C is the same ratio as 135 film. From my experience, using a macro lens gives a much better result than a standard lens with extension tubes or bellows. A remote control or cable release is highly recommended so as not to cause the camera to move when firing the shutter. It’s also a good idea to use a DSLR in live view to make sure it is correctly framed, and enlarge the view to make sure the focus is spot on. Live view will also lock up the mirror to prevent vibration. This isn’t an issue with mirrorless cameras as they are giving you the sensor image anyway.
So that’s an overview of the two choices of capturing methods for home digitising your film.
Both have their pros and cons. If you already have a macro lens, a tripod and a light source, your only additional expense is going to be the film holder. If you don’t have those, even buying a used macro lens, along with a low-cost lightbox and copy stand from Amazon, you’re still looking at the same outlay as a dedicated film scanner. I’ll go into more detail of the pros and cons in the final part where I will look at workflow and post-production options.
See you there!
See more of Chris’ work over at his website.
About the author