Building a PC for Photo & Video Editing
That’s right, Luke ditched his master Mac & took the challenge to build a PC capable of editing 4K video to streamline workflow. Read on for the full story and video case study to learn more, especially if you’re looking to upgrade yourself.
Words: Luke Gardner
One of the main reasons to build your own computer is clearly the cost-saving, but be warned, building a PC has its pros and cons, so I strongly recommend putting in plenty of time to research components before committing. In the long run, it’s great to have pride in a PC that you know you’ve built yourself but most importantly, you’ll have a machine that meets your specific needs as a creator.
To see my journey and get a starting point for building a PC then check the video below. For a break down of the parts I used to build this specific PC, then keep on scrolling. Don’t forget to like and subscribe to our YouTube channel for more videos like these.
Long adored by budding creatives and professionals alike, the Mac, [in some form or another] has been the go-to hardware for creatives far and wide. Mainly for these reasons, I opted for a MacBook Pro back in 2015 and never looked back. Fast forward 5 years and I’ve been starting to see my beloved MacBook struggle. RAW files have gotten bigger, 4K has pretty much become the new video standard [we shoot in 4K for all PhotoBite reviews nowadays].
Looking for an upgrade, I first went to Apple’s website and configured my next best friend. Three thousand, one hundred and fifty-nine pounds… Gulp! Maybe I can hold out a little longer. A couple of painful editing sessions and my brain goes ‘ding’. What if I build a PC? It’s modular, I can change pieces one bit at a time, and I can keep upgrading it without needing to buy a whole new system. You see, this is why Apple is so incredibly rich. They offer a very good operating system, but then they go and solder everything to the motherboard. You can’t upgrade the RAM, CPU, Graphics-Card, nothing. In the higher-end models, we are beginning to see modularity, but £3,000 on another Mac? I’ll take my chances.
The build
The following build is a set-up I’ve made based on my extensive research, [repeat – do your research] and to a budget of around £1400 at the time of the project, but I will point out places where you can save money and build a PC to a rough budget of £800. So stay tuned. Prices will be dictated by Amazon, so you may see a minor fluctuation in the build price. Hopefully, by the time you’re reading, these prices will have gone down. Woo!
Starting off let’s look at the CPU [Computer Processing Unit]: The RYZEN 7 3700X [£269.97]
There are currently two major brands to consider for your CP; Intel and AMD. We can go into the pros and cons all day long, but the route I opted for was AMD. I chose for the RYZEN 7 3600X; this is one of AMD’s newer generation processors and has been hailed for its incredible performance. 8 cores and all at a very good price point.
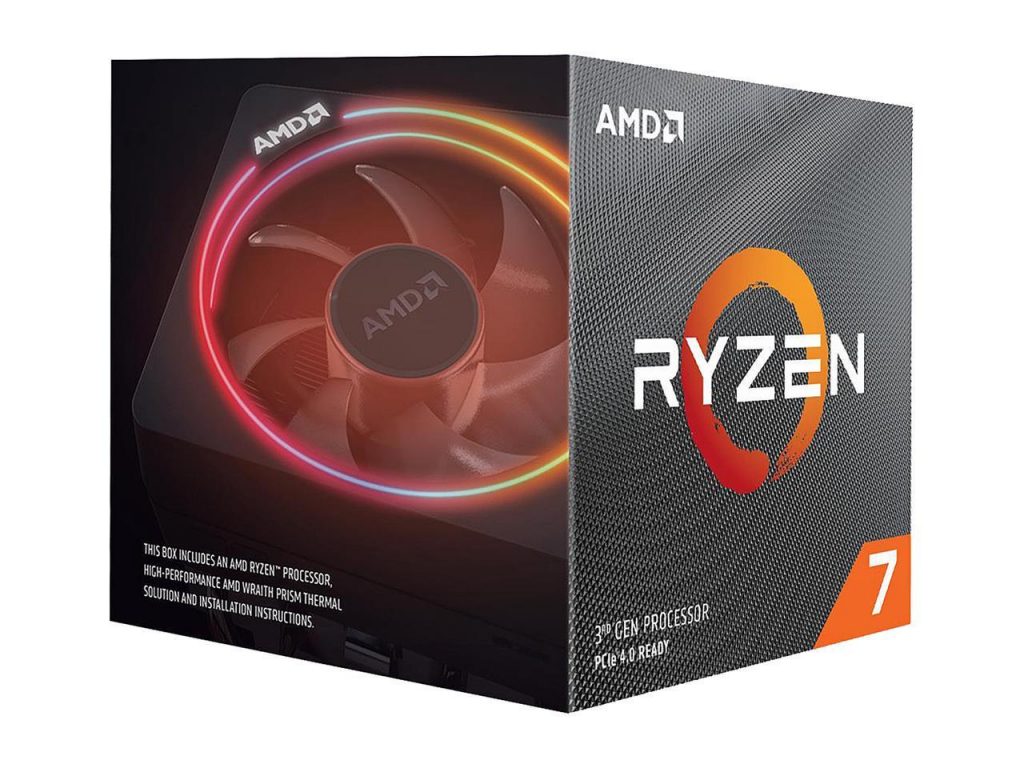
Now, to save some cash you can opt for the RYZEN 5 3600X, which goes for around [£183.00]. What you lose are 2 cores, which help with multiprocessing like running programs like Chrome, YouTube, Photoshop and Lightroom consecutively. Basically put, the more cores, the better the system runs. If you are an enthusiast or pro photo editor, this is a good choice, but videographers will need a bump in the core department so I’d say go for the Ryzen 7.
Another benefit AMD offers with its processors is a cooling fan which, according to many reviews, is actually a pretty decent cooling system, providing you don’t do any crazy overclocking. Bonus, it has RGB lighting built in!
Now the Graphics Card – MSI GeForce RTX 2060 6GB Gaming Z [£319.99]
Let me put this plainly, there are a lot of choices available to you for graphics cards when building a PC. I went with the MSI GeForce RTX 2060 6GB Gaming Z card, based purely on its value for money and its performance. Out of the box, this card is overclocked, meaning they’ve boosted the power so it can run at higher speeds without needing you to do anything to it.
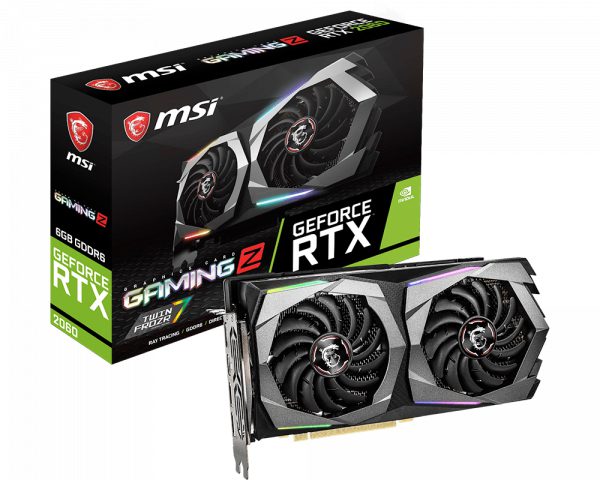
To save money if you’re building primarily building to edit photos, you can opt for the Radeon RX 570 [£116]. It’s a 4GB graphics card which will serve you perfectly, but if you’re looking to edit video then go for the 2060 as I did. If you want more memory you can opt for the 8GB version which goes for £380. There are also the next series of models, the 2070 and 2080, but then you’re pushing the price past £500. And you’re not gaining much unless you’re gaming and trying to squeeze as much fps out of the card as possible.
Also, take note of the type of monitor you’re preparing to use as the higher the resolution and refresh rate the more power you’ll need from the graphics card. That being said, the RX 570 will be ample for editing on a 1920x1080p screen, so good for me.
The RAM [Random Access Memory] Corsair Vengeance 32GB 3200mhz 2x16GB [£142.97]
One part of a computer we’re all quite familiar with is the RAM. This, in conjunction with the CPU, will help your computer to perform without lagging or slowing down. I opted for 32GB as the editing software I use, Premiere Pro, requires a lot of RAM and to be honest with you, the more RAM you can afford, the better. The 3000mhz is based on how fast the RAM can process information, the higher the MHz the better but you will see that reflected in the price.
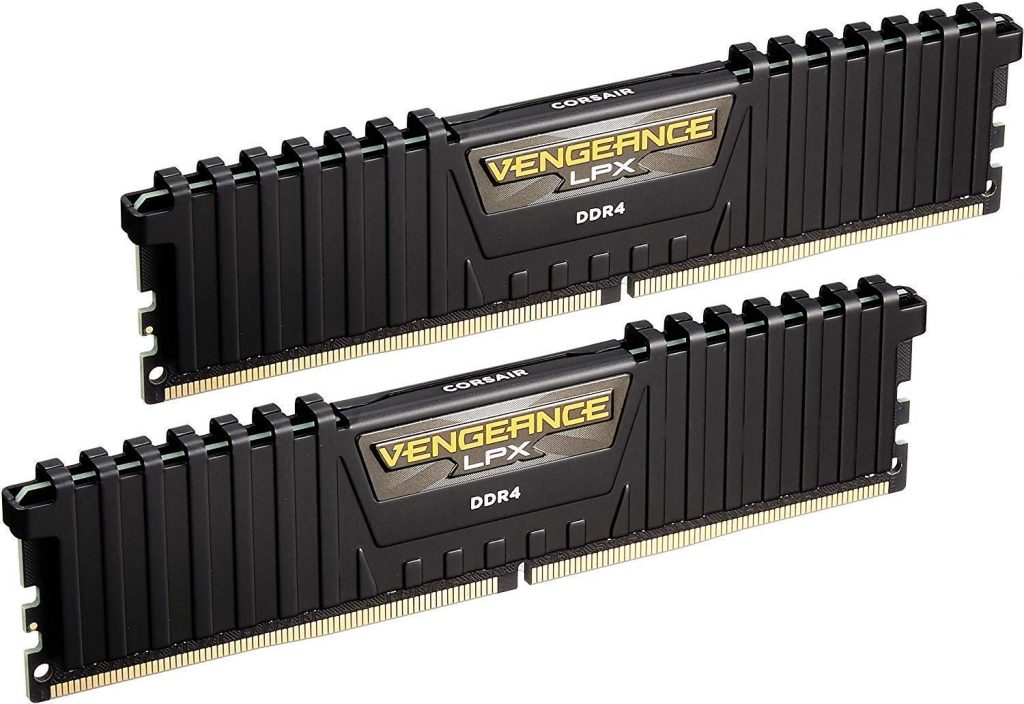
If you’re a photo editor you can quite easily go for 16gb [2x8GB] – £70.80. Photoshop and Lightroom aren’t RAM intensive and this amount will mean your system will breeze through editing and multitasking no problem.
Now the motherboard – MSI MPG X570 GAMING PLUS* [£158.98]
This is great board that offers great options on expanding in the future. It offers 2x M.2 expansion slots [we’ll talk about those later], up to 128GB of Ram support and already ships with the BIOS to run the new RYZEN processors.
Overall this board is great value, I would suggest opting for the wifi option if you can’t get a LAN cable to it. This will make the price £172.93 which isn’t a big bump, but a bump nonetheless.
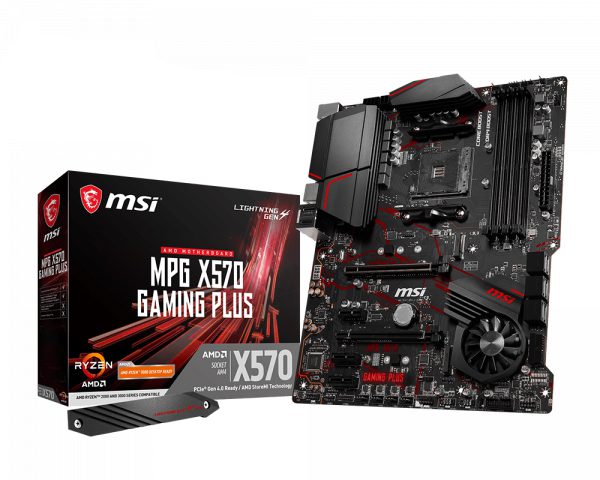
To save even more money, have a look at the MSI B450 GAMING PLUS MAX* [94.96]. It doesn’t cover as many inputs as the X570 motherboard but is still compatible with the RYZEN processors and the rest of the hardware. The X570 motherboards are newer and are designed for the latest RYZEN CPUs whereas the B450 models were given a software update to accept them. Shown in the price, the X570 boards will go for a bit more but you won’t see a massive difference in the performance.
*This case that I recommend has a USB-C input but this board does not have the required input to use it. I did some searching and found this adapter that adapts one of the USB-3.0 inputs to cater for the USB-C input [£20.96]. You don’t need this adapter unless you want to use the USB-C input.
M.2 SSD Drive – Samsung 970 EVO Pro 512GB [£160.98]
M.2 Memory is a newer form of memory which offers great read and writes speed. By great, I mean 3500MB/s Read and 2700MB/s Write. I use this drive to run the operating system and the applications I download.
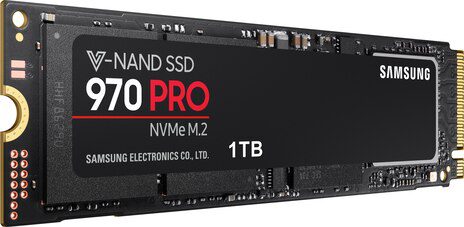
M.2 Drives are not necessary but they certainly help with boot times [turning on the PC] and starting/running applications. 512GB for my work is a healthy amount but you can always upgrade your space to 4TB.
Storage SSD – Samsung SATA SSD 860 Pro 512GB [£126.99]
This drive is used to store current projects and video files. Please note that you can purchase these in much larger volumes [upto 4TB] but do expect to pay much higher prices. These types of drives are slightly more affordable and still give you great speeds if you’re running Windows.
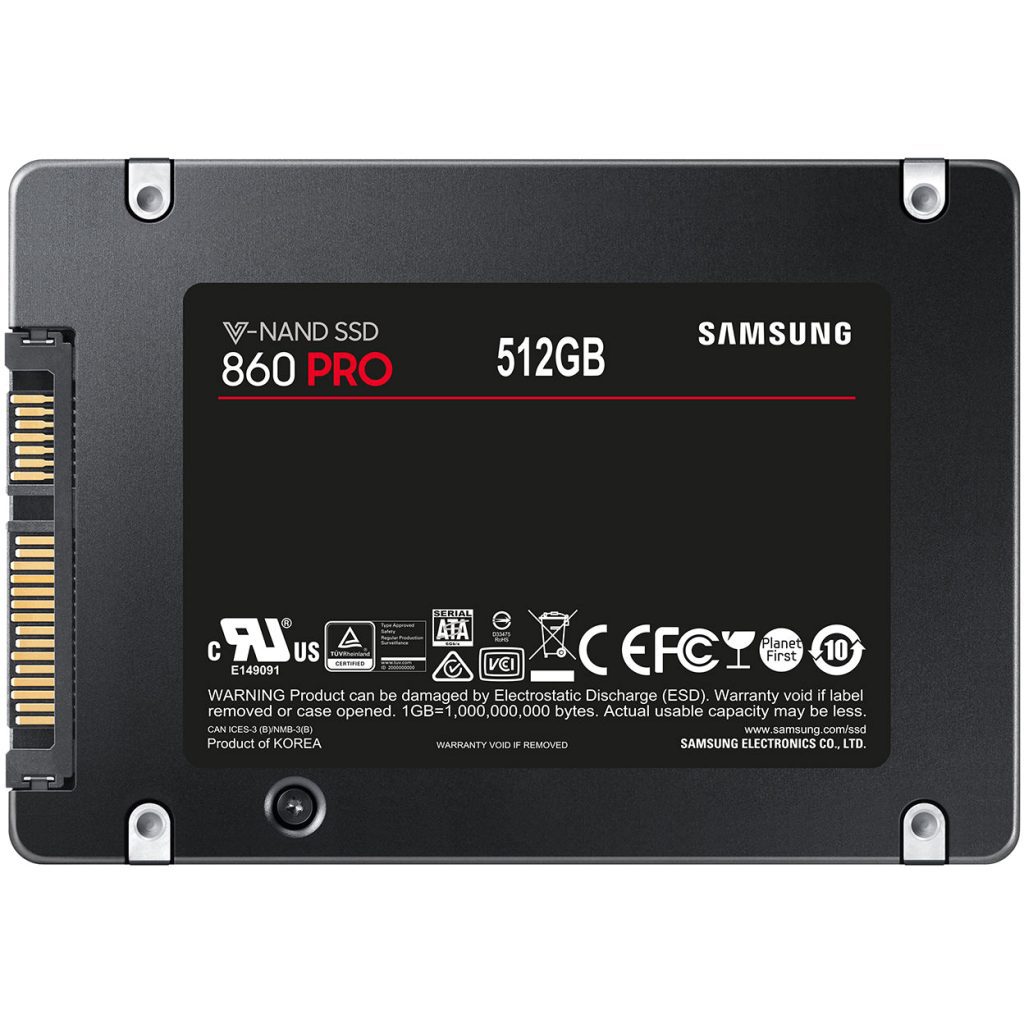
If you’re on a tight budget, there are two ways to approach this. Purchase a smaller 128GB M.2 and get a larger SSD Like a 1TB drive. Or Just opt for an SSD like the Samsung 860 EVO 1 TB SATA 2.5″ Internal SSD [£128.15]. Honestly, you won’t lose out much but for all you video editors out there, I know every extra bit of performance helps so keep that in mind when you go to build your PC.q
Time to put it into a case – The NZXT H510 [£69.59]
At this price, the case is a very good choice, and I would think of getting a lower-end model without expecting some compromises. The case itself features a tempered glass panel which allows you to see your build in all its glory. It also features 2x fans at the rear with room to mount two more fans at the front or a radiator for the CPU. The ventilation itself is quite good, and all ventilation points have dust filters to reduce the amount of maintenance needed to keep your components clean and dust-free.

Make it live with – Corsair TX-M Series 650 Watt 80 Plus Gold Certified [79.99]
This half modular power supply means you won’t have to hide a bunch of power cables you’re not using which can be a cable management nightmare.
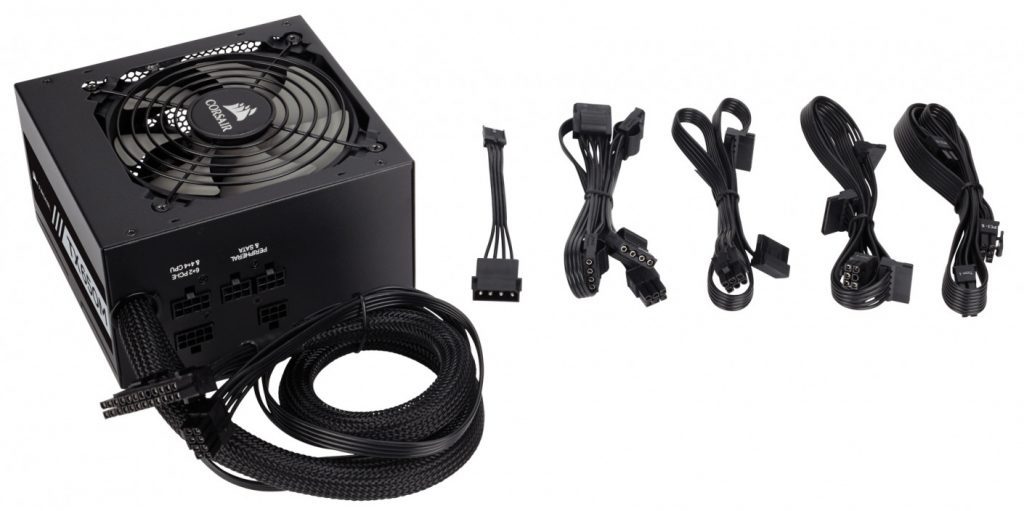
Alternatively, you could rock the EVGA 600 W1, 80+ WHITE 600W [£46.99]. This power unit is a non-modular system so it comes with all the cable’s built into the power unit, this makes it cheaper than the modular versions out there but does mean you’ll need to hide the cables. The case does a nice job at doing just that.
In terms of savings, this price is as good as it gets. I opted for a 600W unit as I wanted to have all the power I need to run my computer when it’s under load. At idle my current set-up is around 350W so plenty of breathing room even if I were to upgrade parts in the future.
Total Cost for the parts [£1315.71]
Total Cost for parts if you’re photo editing only [£801.09]
And for those of you looking to add some RGB lighting to you new PC build, this is a great case to show it off.
Optional Extras
These extras are ones that I have personally made but feel free to explore other options.
2x Arctic P12 Silent fans [£4.99] – These extra fans help pull air into the case at the front to reduce the components getting hot and prevent them from thermal-throttling.
USB 3.1 Card Reader [£10.00] – This case doesn’t come with one so finding a good card reader is key otherwise you have to use the dreaded USB cable that links directly to your camera!
RGB Strip Lights [15.99] – Adding some colour never hurts but don’t go crazy.
Cable Extensions [29.99] – The Power Cables that are attached aren’t the prettiest cables to look at so I got some extension cables that help give the system a nice look. You can get these in multiple different colours but I chose white to keep in theme with my case.
Key Board and Mouse [£49.99] – A rough estimate but for a decent wireless system, this is a good price to budget around.
About the author